Seafile-Help: Libraries
Manage libraries
The web interface gives you the ability to do file management tasks. You can also view various information.
Index
Create a library
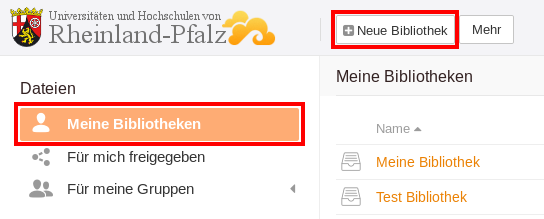
Libraries are always at the top level and therefore can only be created on the start page. Click My Libraries in the left navigation pane, and then click + New Library at the top.
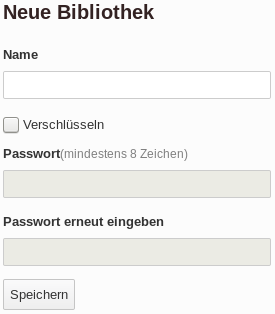
Encryption
You can set a library to encrypt its content. The key (the password) is NOT stored on the server. If you lose the key, you can not recover your data.
To change the password, move your mouse over the library and click on the small triangle that appears. Select Change Password from the drop-down menu. In the new window, enter the old password and a new password and save your changes.
Encrypted libraries are subject to technical restrictions:
- It is not possible to create anonymous shares for the library or individual folders or files.
- Only the entire library can be shared with groups or individuals.
- It is not possible to share single folders with groups or individuals.
Further information regarding the encryption can be found here: http://manual.seafile.com/security/security_features.html
Rename a library
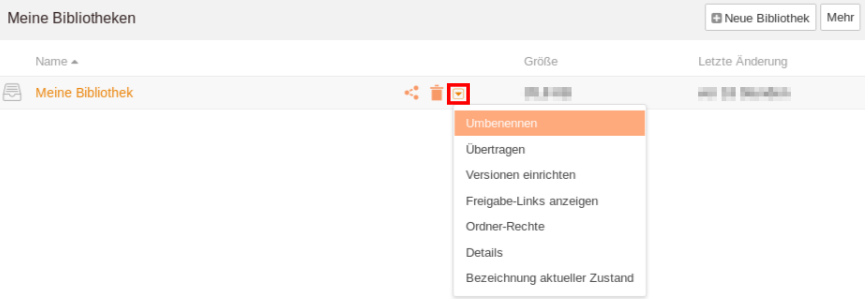
Click on My Libraries in the top left corner under Files. Move your mouse over the library you want to rename. There are three icons to the right of the library name, including a down-arrowed triangle for More Operations. Click on it and select the first item Rename. Now you can give the library a new name and confirm your choice with the check mark or cancel the renaming by clicking on the cross.
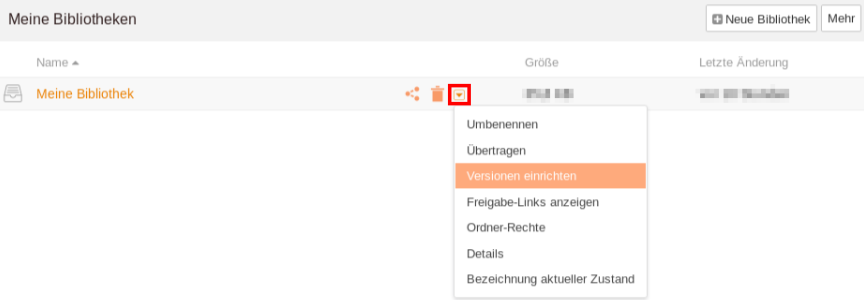
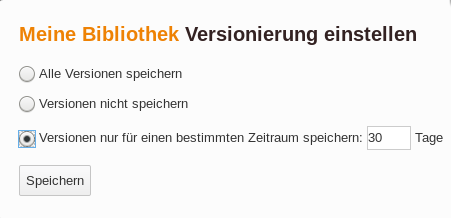
History Setting
History Setting determines whether and for how long versions of a library should be saved. A new version is created when changes have been made to the library, e.g. by uploading new files and folders or editing the documents. You should only change the settings for the library if you have a good reason for doing so.
Display shared links
In order to show files and folders which are located in a library and shared with others by a link, press the button More Operations. It will be displayed as a triangle as soon as you move the mouse on the name of the library.
Then, click on Share Links. You will see a window showing all files and folders which were shared by links. They are separated up into two categories depending on if the user got only reading access for the documents (Share Links) or an additional permission for uploading own files (Upload Links).
Visits counts the number of file or folder accesses by the link.
In case that the shared links are no longer current, you can delete them. Therefor, put the mouse on the file or folder name and press the Trash icon on the right.
Label current state
By clicking on More Operations, Label current state will be displayed on the bottom. When you press this button, the current version of the library can be labeled. Later, this may help you to find and restore a previous version of the library from the records which contain all editings of the library.
Deleted Libraries
To the right of the + New library button is the More button. Under the Deleted Libraries menu item, you will find a list of deleted libraries that can be restored by clicking on the arrow. However, the arrow only appears if you move the mouse over the corresponding library name.
Note: Restoring a library is only possible if the deletion is not more than 30 days old. Thereafter, the libraries are irrevocably removed.