Seafile-Help: Groups
What are groups and when should they be used?
Groups let you share folders, files, or libraries with multiple users at the same time. Instead of sharing the data for each person individually, they are shared with the whole group. Using groups also makes it easier to keep track of your shares. Using groups is useful when you work with more than 2 people or share files or folders with the same people more than once.
Working with a group involves the following steps:
- Create groups
- Share libraries, folders and files for the group with the desired rights
- Add group members
You can also add or remove users to a group later. The content of shared libraries can be synchronized for members of the group.
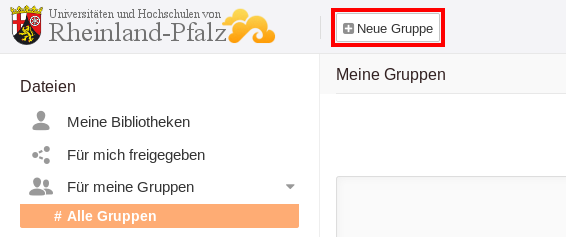
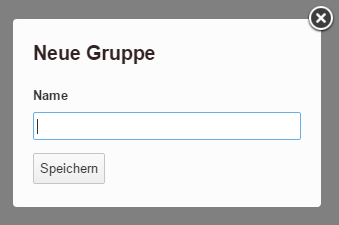
Create and share groups
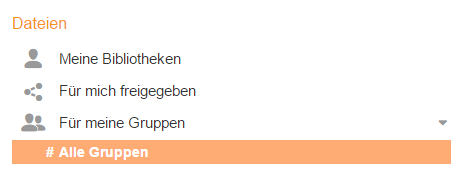
To create a new group, in the left navigation bar under Files, click Shared with groups and then # All groups.
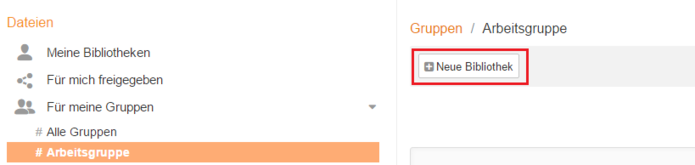
Libraries
By clicking on + New Library you can create new libraries that are automatically shared with each member of the group.
Permissions for shared libraries
Libraries that are enabled with Read+Write permissions can be downloaded by everyone and changes are synchronized with all group members.
If you assign Read-Only rights, the libraries can be downloaded by everyone. However, changes made by other group members are neither uploaded nor synchronized.
When group members have admin rights for library access, they will be allowed to add new members to the group in addition to downloading and editing data in the library.
Access rights can be defined separately for every group member.
Overview page of the group
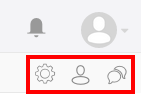
The overview page of a group displays, among other things, the libraries, folders, and files shared with the group. Three icons are also displayed in the upper right corner. These are explained in more detail below.
Administration
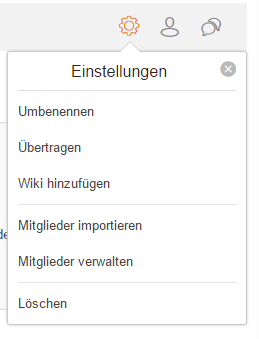
Under "Settings you will find the following actions if you are the administrator of the group:
- Rename a group
- Transfer the owner of the group
- Add a wiki
- Import members
- Manage members (add or remove members and change their roles)
- Delete the group
If you are not an administrator of the group, you can only leave the group.
Manage members
Individuals can be added to a group by using Manage Members. Likewise, the roles of members can be changed. To change a role, move the mouse over the name of the corresponding person. You will see a pencil icon. This allows you to change the role.
Import Members allows you to add multiple people to a group using a .csv file. In this case, only one e-mail address in the form user_name@university.de may appear in a line.
Every student or employee of a university or collage has a Seafile account. However, to be added to a group, the person must have logged in to Seafile at least once. To add an external user to a group, the person must first apply for an account.
To remove a member from a group, hover over a username. A button with a cross will appear on the right side of the line. Click to remove a member from the group. If the person is removed from the group, they can no longer access the libraries, folders, files, and discussions.
By clicking on Transfer, you nominate another person which takes the responsiblity for group administration. Insert his/her e-mail address into the box. By doing so, you transfer all administration rights so that e.g. Manage Members etc. will not be accessible for you.