Seafile-Help: Windows 10
Windows 10
The latest version of the Desktop-Client is available at www.seafile.com/en/download
Choose a client under Desktop Syncing Clients. After saving the .msi file, you can open the file and start the installation.
In the next window, you must specify a folder on your PC where Seafile stores the local copy of the data that you will later synchronize.
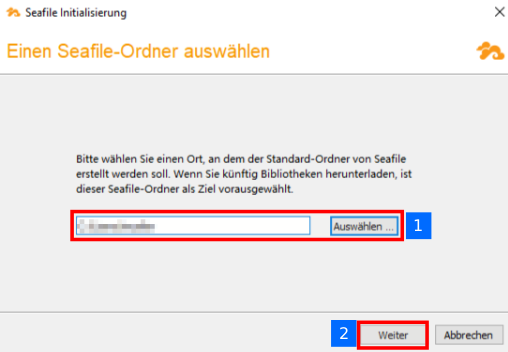
The files you want to share are stored in this directory.
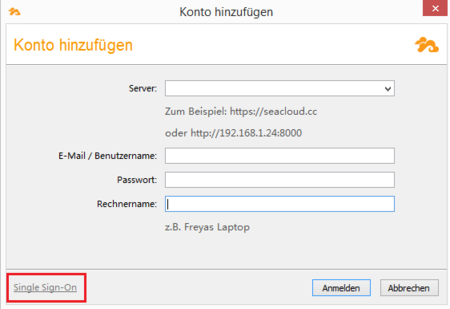
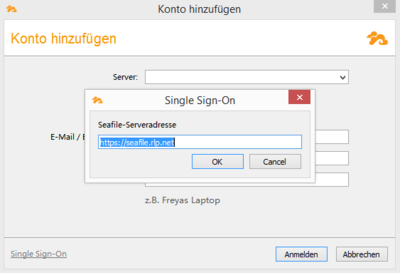
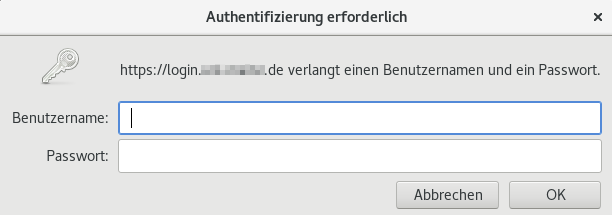
Now add an account in the following window. Do not fill in the fields. Instead, select Single Sign-On.
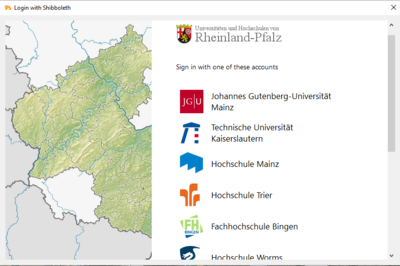
You will be redirected to the login page of your educational institution. Enter your login name and password here.
The login server of your university or college will notify the Seafile cient that you logged in successfully.
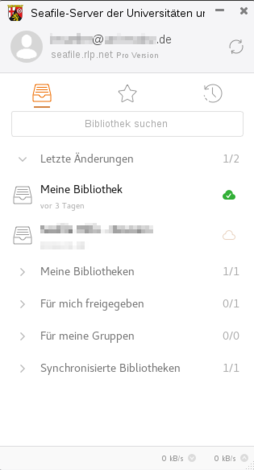
Normally, the Seafile client always runs in the background after the first setup and periodically checks the folder where the files to be synchronized are stored.
Disable startup of Seafile client in Task Manager:
Open the Task Manager by right-clicking on the taskbar and then click on "Open Task Manager". Under the Startup tab you can select and deactivate the corresponding program.